-
Senior Member
registered user
Fool-proof multi-boot PC with Knoppix 6.2.1 run from HD as deault boot option.
I've just gone through these steps with a laptop (Dell Vostro 1710) setup from scratch.
1. Replace the original HD with a new, blank and possibly bigger one. Store the old one in case it is to be used the "normal" way again later. Skip partition resizing and all that kind of fiddling.
2. Run Knoppix from a USB stick. Use plain old fdisk to partition the new HD. For defensive system setup, you'll need one NTFS partition for Windows, one FAT32 partition for exchange of data with Windows plus evt KNOPPIX directory, one big Unix partition for more permanent storage, at least one system Unix partition and swap. If you intend to install several Unix variants, you'll need at least one partition for each. Separate /home and /usr/local might be useful, but they will interfere with Knoppix setup, so I skip them for now.
3. Format the exchange partition (here /dev/sda2) to FAT32 and the system and storage partitions to your file system of choice. I used ext3:
Code:
mkfs.vfat -F 32 /dev/sda2
mkfs.ext3 /dev/sda7
mkfs.ext3 /dev/sda11
4. Install Windows (in my case Vista Home) on partition 1 (in my case /dev/sda1.) Why? Well, just check out the reports of problems with network in recent Knoppix versions, and you will realize it's good to have a backup solution. Just to mention one thing.
5. Running Knoppix from the USB again. download an ISO of a current non-Knoppix Linux distro to the storage area, and burn it to CD. Why? Again, to have backup solutions available. And to check against. I used Mandriva 2010 with KDE, but the choice shouldn't matter much at all.
6. Install the Linux distro to the system partition (here /dev/sda7), let GRUB take over the booting from WIndows. But don't care too much about what works and what doesn't in this distro at first. The existence of a Linux backup solution on disk, and the GRUB install, are the essential things here.
7. Running Knoppix from the USB again, install a second USB medium and use the install-to-flash option (preferences) to make a copy on that medium. This is for avoiding any mess with a living system when you setup the system on the HD. Plus, it's a backup. So, if you were wise and already had a backup, yuou could use that.
8. Mount the FAT32 partitions. Copy the Knoppix structure from the backup (here /dev/sdc1) to the partition. (For simplicity, here I copy just everything.)
Code:
su
mount /dev/sda2 /media/sda2.
mount /dev/sdc1 /media/sdc1
cp -ar /media/sdc1/*  /media/sda2
Now you have a runnable Knoppix 6.2.1 on your hard disk. You could check if it works by starting Knoppix with the fromhd cheatcode: knoppix fromhd=/dev/sda2
9. Next step is setting up GRUB to boot Knoppix as default. The safest way to avoid trouble, is to make separate boot subdirectories for each booting option, and leave the existing setup untouched. You have to mount the system partition, which in ordinary use will be left unmounted - that's also a defensive measure. Then create a subdirectory for Knoppix, copy the actual booting files there, and modify GRUB's init file /boot/grub/menu.lst. I used emacs, of course any good editor would do.
Code:
mount /dev/sda7 /media/sda7
cd /media/sda7/boot
mkdir knx621
cd knx621
cp -a /mnt-system/boot/* .
cd ../grub
emacs menu.lst &
The modification of menu.lst is very simple in this case. Just insert a new booting option as the first. That will be used as default.
Code:
title Knoppix 6.2.1
kernel (hd0,6)/boot/knx621/linux ramdisk_size=100000 lang=en vt.default_utf8=0 apm=power-off vga=791 nomce quiet no3d loglevel=0 tz=localtime
initrd (hd0,6)/boot/knx621/minirt.gz
Here you can fill in with Knoppix cheat codes. I had to use the no3d option because Compiz doesn't get the resolution thing right on the 1920x1200 display. You could use the fromhd= option too, but in this case, the Knoppix init process finds the correct option and runs that.
10. If you haven't got it exactly right with GRUB, so GRUB won't boot Knoppix, you can still boot from USB. But, please, don't try anything fancy. You don't have to change the device.map file, you should NOT use the chainloader option etc here. Just give GRUB the kernel and the minirt.gz to chew on, and everything will run just fine. BTW, this is a great way to try out modifications. Just make more boot subdirectories for the alternatives, and you can try other kernel options, make new minirt.gz versions etc. Without breaking anything that is up and running. If you issue a df command after booting, you will not find /dev/sda7. It's not mounted. That's very nice: It's just used for booting up, you have no chance of damaging i accidentally afterwards. But /dev/sda2 is mounted as /mnt-system.
11. Now is the time to look at rc.local, for permanent setup tweaks. I tend to be very conservative and not start services that are not needed, mount volumes that aren't regularly used etc. Mine looks like this:
Code:
#!/bin/bash
#
# rc.local
#
# Start local services after hardware detection

SERVICES="cups"

for i in $SERVICES; do
 [ -x /etc/init.d/"$i" ] && /etc/init.d/"$i" start >/dev/null 2>&1
done

# Bug in initial 6.2.1 loop devices created wrong! Only one, create the rest

mknod -m660 /dev/loop/1 b 7 1
mknod -m660 /dev/loop/2 b 7 2
mknod -m660 /dev/loop/3 b 7 3
mknod -m660 /dev/loop/4 b 7 4
mknod -m660 /dev/loop/5 b 7 5
mknod -m660 /dev/loop/6 b 7 6
mknod -m660 /dev/loop/7 b 7 7


# Mounting extra persistent storage + creating directories
mkdir /store
mkdir /store/local
mkdir /store/var
mkdir /store/share
mount -o loop /mnt-system/KNOPPIX/knoppix-data2.img /store/share
mount -o loop /mnt-system/KNOPPIX/knoppix-data3.img /store/var
mount /dev/sda11 /store/local

export GDK_NATIVE_WINDOWS=1


exit 0
I have set up two additional volumes of persistent storage that get loop-mounted, as /store/share and /store/var, and the big harddisk volume is mounted on startup. Nothing more. I try to stay away from the NTFS volume. But there are a few bugs that have to be fixed, like the missing loop devices, and that is done in rc.local.
That's it. I'm writing this on the fresh install, using wifi that works right out of the box. Buliding on a Knoppix that was set up on an entirely different machine, just copying over the vmware virtual machines to the harddisk here etc. The machines could also be run from USB harddsik, but that's less efficient.
 Posting Permissions
- You may not post new threads
- You may not post replies
- You may not post attachments
- You may not edit your posts
-
Forum Rules

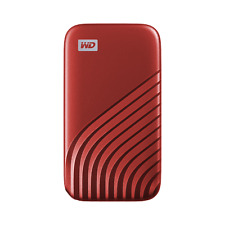
WD 500GB My Passport SSD, Portable External Solid State Drive WDBAGF5000ARD-WESN
$59.99
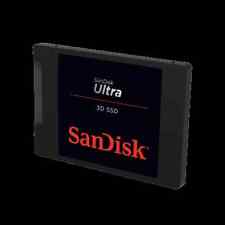
SanDisk 2TB Ultra 3D NAND SSD, Internal Solid State Drive - SDSSDH3-2T00-G26
$149.99
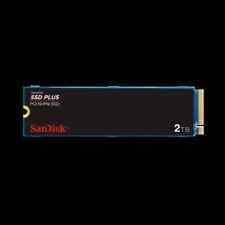
SanDisk 2TB SSD PLUS M.2 NVMe PCIe Gen 3.0, Internal SSD - SDSSDA3N-2T00-G26
$119.99
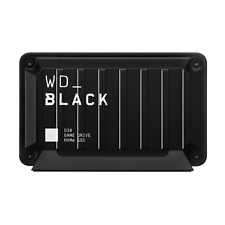
WD_BLACK 1TB D30 Game Drive SSD, External Solid State Drive - WDBATL0010BBK-WESN
$99.99
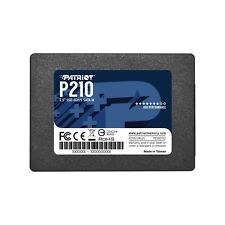
Patriot P210 128GB 256GB 512GB 1TB 2TB 2.5" SATA 3 6GB/s Internal SSD PC/MAC Lot
$13.99
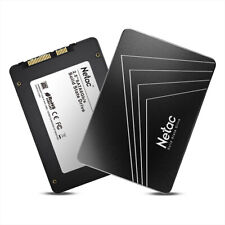
Netac 1TB 2TB 512GB Internal SSD 2.5'' SATA III 6Gb/s Solid State Drive lot
$12.59

800GB SATA SSD SSDSC2BX800G4 Intel 2.5" Enterprise SSD Drive S3610 Series
$37.91
Crucial - 500GB Internal SATA Solid State M2 Drives
$20.00
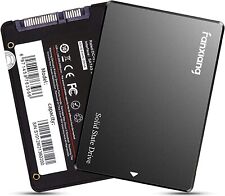
fanxiang 2TB 1TB 512GB SSD 2.5'' SATA III Internal Solid State Drive PC/MAC lot
$188.99
Fanxiang SSD 512GB 1TB 2TB 4TB 2.5'' SSD SATA III Internal Solid State Drive lot
$107.99


 Reply With Quote


